How to Do a Cut Crease Like a Total Makeup Pro
A cut crease is a striking makeup technique that enhances the eyes by creating a clear distinction between the eyelid and the crease. This style not only adds depth and dimension, but also allows for beautiful color combinations and artistry. In this article, we’ll explore the step-by-step process for achieving the perfect cut crease, along with tips to elevate your application game. Whether you’re a novice or an experienced makeup lover, mastering this technique can transform your eye makeup looks into stunning masterpieces.
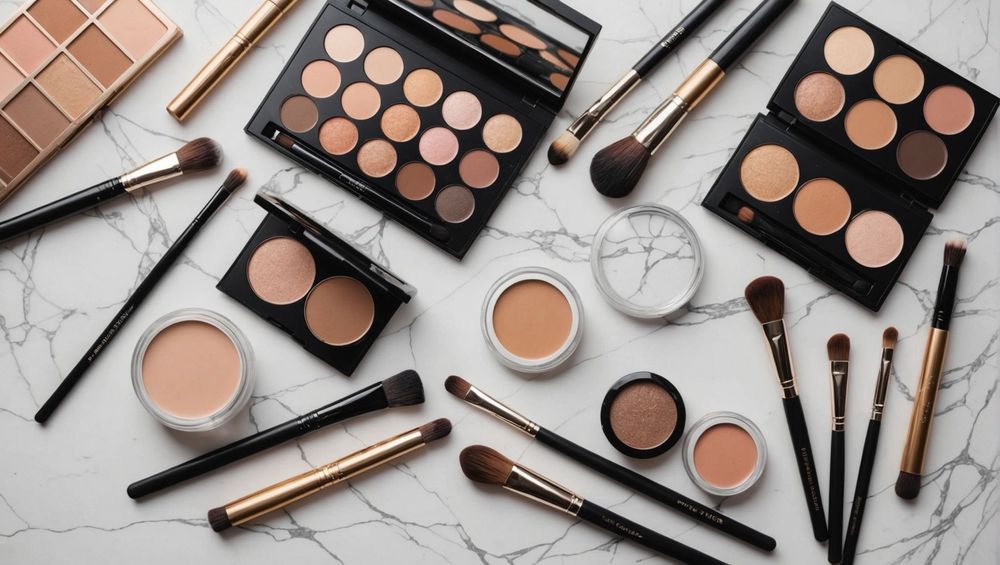
Gather Your Tools and Products
To create a flawless cut crease, it’s essential to have the right tools and products on hand. Here’s a list of items you should gather before you begin:
- Eyeshadow Primer: A good eyeshadow primer will ensure that your eyeshadow stays in place and enhances the colors.
- Concealer: This will help in defining the crease area. Choose a shade that matches your skin tone or is a bit lighter.
- Makeup Brushes: A flat brush for applying concealer, a blending brush for seamless transitions, and a fine-tipped brush for detailing.
- Eyeshadows: Select a mix of matte and shimmer shadows that complement each other for depth and contrast.
- Setting Powder: Translucent powder to set your concealer and keep it from creasing.
Having these items ready will streamline your process and ensure you achieve a professional finish.
Step-by-Step Guide to Creating a Cut Crease
Now that you have your tools ready, it’s time to dive into the application process. Follow these steps to achieve a stunning cut crease:
- Prep Your Eyelids: Apply your eyeshadow primer evenly across your eyelids and blend it out. Make sure the primer is dry before you proceed.
- Create Your Base Look: Use a neutral eyeshadow color to cover the entire eyelid. This serves as the base for your cut crease.
- Define the Crease: With a darker eyeshadow shade, apply it into your crease using a windshield wiper motion. This will create depth.
- Cutting the Crease: Take your concealer and a flat brush to carve out your crease, creating a clean line where you want the transition to occur. Look straight ahead to determine your crease line before you start.
- Add Color: Once your crease is cut, apply your desired eyeshadow color over the concealed area, blending it carefully into the crease shade.
- Blend and Finish: Use a blending brush to ensure a smooth transition between the colors, and add some shimmer to the middle of the lid for added interest.
By following these steps meticulously, you’ll achieve a professional-looking cut crease that can be tailored to suit any occasion.
Tips for a Flawless Cut Crease
While the steps are essential, incorporating some expert tips can elevate your cut crease technique significantly. Consider the following advice:
- Use Tape: For a clean line, you can place tape at the outer corner of your eye as a guide. It helps prevent any fallout and guarantees a sharp finish.
- Work in Layers: When applying eyeshadow, build the color gradually to avoid any harsh lines. Layering will also help in achieving a more blended look.
- Practice Makes Perfect: As with any makeup technique, practice is key. Experiment with different shapes and colors to find your personal style.
- Choose the Right Brushes: Different brushes serve different purposes, so invest in quality brushes that aid blendability and precision.
- Set Everything: After finishing your look, take a moment to set your eyes with a setting spray to maintain longevity throughout the day.
By implementing these expert tips, you’ll not only improve your cut crease skills but also boost your overall makeup game.
Finishing Touches to Elevate Your Cut Crease
Once you’ve perfected your cut crease, the finishing touches can truly bring your look to life. Here are some suggestions to consider:
- Highlight the Brow Bone: Apply a light shimmery or matte shade just under the brow arc to make your eyes pop.
- Add Eyeliner: Consider a winged eyeliner for a more dramatic effect or a simple line to keep the focus on your cut crease.
- False Lashes or Mascara: Enhance your eyes further by adding false lashes or layering your favorite mascara for volume.
- Lip Choices: Balance your eye makeup with a complementary lip color, opting for bold or subtle based on the occasion.
These final steps will complete your look and ensure every detail is polished and cohesive.
Conclusion
Mastering the cut crease technique can greatly enhance your makeup skills, providing you with versatility and creative freedom. With practice, the proper tools, and knowledge of blending techniques, achieving a professional look is within your reach. Don’t hesitate to experiment with different colors, shapes, and styles to find what works best for you. Remember, confidence in your application is just as important as the techniques themselves. Now go and rock that stunning cut crease!
FAQs
1. What is a cut crease?
A cut crease is a makeup technique that defines the crease of the eye with a contrasting color, creating depth and dimension.
2. Can beginners do a cut crease?
Absolutely! With practice and the right tools, beginners can master the cut crease technique. Start with simple colors and shapes.
3. What types of eyeshadow are best for a cut crease?
Both matte and shimmer eyeshadows work well for a cut crease. Matts help in defining the crease, while shimmers add dimension.
4. How do I clean my makeup brushes after applying a cut crease?
Use a gentle brush cleaner or soap and water to wash your brushes after each use. This helps maintain their quality and hygiene.
5. How long does a cut crease last?
With proper primer and setting spray, a cut crease can last all day without creasing, making it perfect for long events.