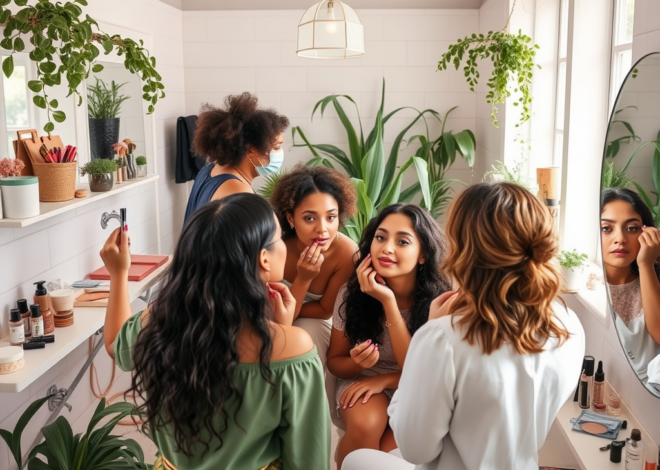
A Brow Expert’s Tips for Dyeing Your Brows at Home
Dyeing your eyebrows at home can seem daunting, but with the right tips and techniques, you can achieve salon-quality brows in the comfort of your own bathroom. A brow expert emphasizes that the secret to successful DIY eyebrow dyeing lies not only in selecting the right products but also in understanding your hair color and skin tone. In this article, we will outline essential tips to help you master the art of brow dyeing at home, ensuring that your brows look naturally perfect while avoiding common pitfalls.
Choosing the Right Shade
One of the most critical factors when dyeing your brows is selecting the right shade that complements your features. Choosing a color that harmonizes with both your hair and skin tone will create a cohesive look. As a general rule, we recommend these guiding steps:
- Assess Your Hair Color: If you’re a blonde, opt for a shade that’s one to two tones darker; for brunettes, choose a color that matches your hair or is slightly lighter.
- Consider Your Skin Tone: Cool-toned individuals should look for ashy or neutral shades, while warm-toned individuals can choose warmer colors.
- An Example of Matching: Individuals with light brown hair and warm undertones might consider a soft caramel or golden brown shade.
When in doubt, it’s always safer to opt for a shade lighter than you think you need, as you can build up the color gradually.
Gathering Your Supplies
Preparing the right supplies before you start is crucial for a smooth and efficient brow dyeing process. Here’s a list of necessary items you should have on hand:
- Eyebrow dye kit (preferably one that includes a brush and applicator).
- Cotton swabs or pads for easy cleanup.
- Gloves to protect your hands from staining.
- Petroleum jelly or a barrier cream to apply around the brows.
- A small bowl for mixing the dye.
By gathering your supplies beforehand, you minimize the risk of interruptions and ensure you can focus solely on achieving the perfect brow shade.
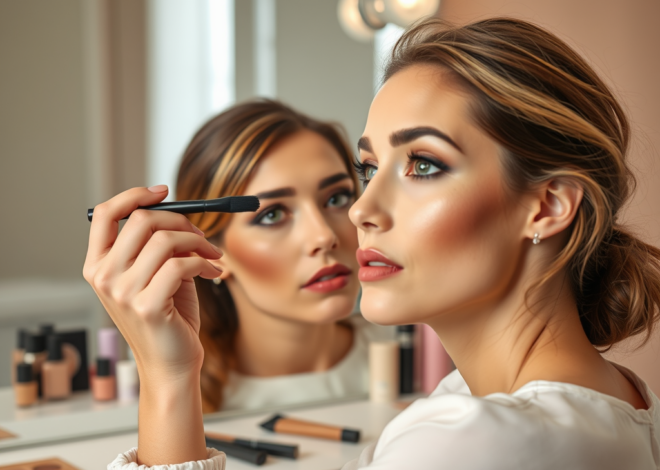
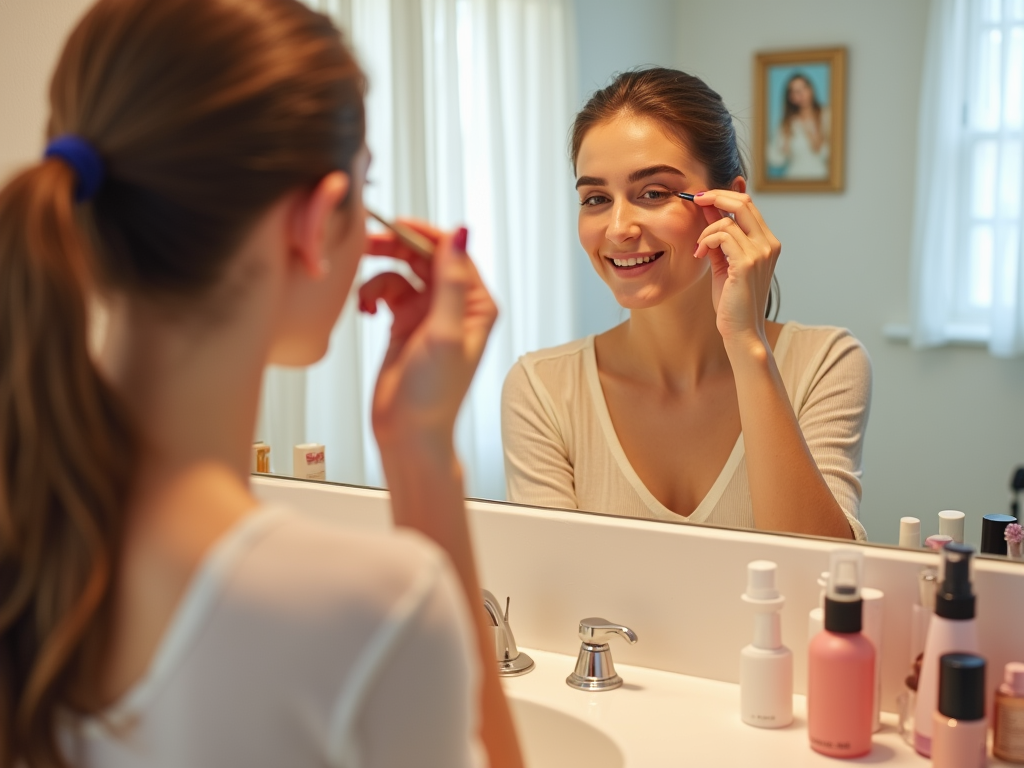
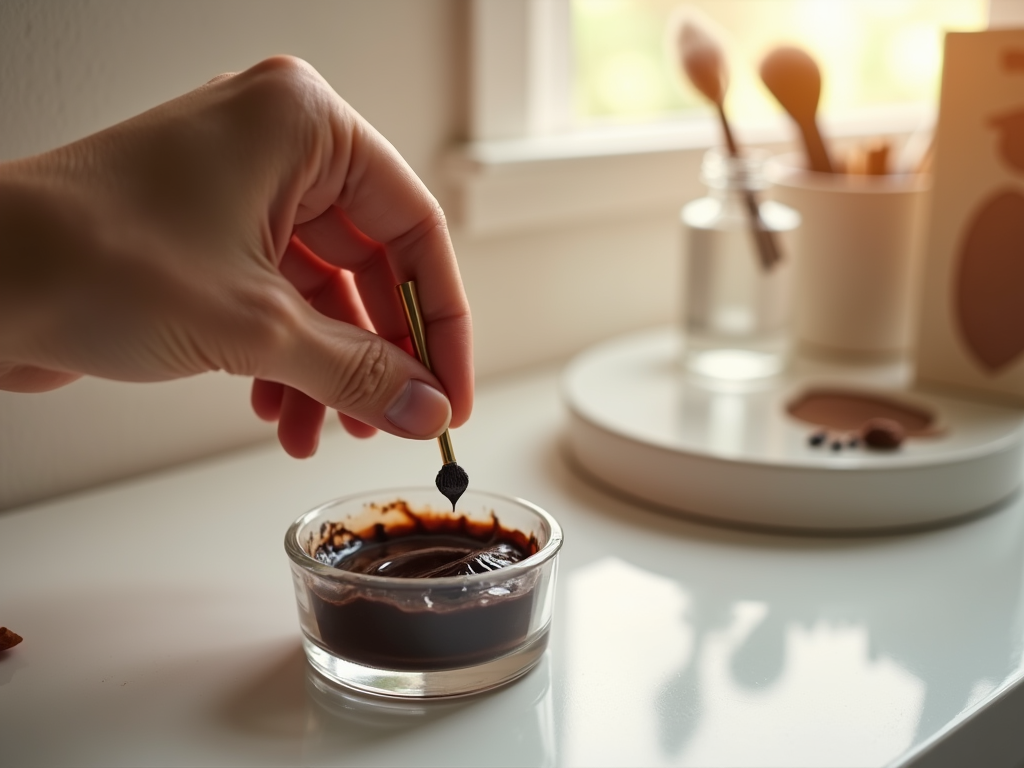
Applying the Dye Like a Pro
The application process can influence your results significantly, making it necessary to apply the dye correctly. Here’s a step-by-step guide on how to achieve flawless brows:
- Prepare Your Brows: Start with clean, dry brows. You can also lightly exfoliate the area to remove dead skin.
- Apply a Protective Barrier: Use petroleum jelly around the eyebrow area to prevent staining your skin.
- Mix and Apply the Dye: Follow the instructions on your dye kit carefully for mixing. Use the applicator to start at the tail of the brow, working toward the front.
- Check Frequently: Every 3-5 minutes, check the color development. The dye may appear darker once rinsed off.
- Rinse and Finish: Once you’ve achieved your desired color, gently wipe away the dye with a damp cotton pad and rinse your brows with water to remove any residue.
By following this method, you’ll create a clean, controlled application that enhances the overall look of your brows.
Aftercare and Maintenance
Once you’ve dyed your brows, proper aftercare is essential to maintain their fresh look and prevent fading. Here are some helpful post-dyeing tips:
- Avoid washing your face or using exfoliating products on your brows for 24 hours to allow the dye to set.
- Use a brow gel or wax to keep hairs in place and enhance the color.
- Moisturize the skin around your brows to prevent dryness but steer clear of heavy oils that may cause the dye to fade.
- Schedule regular touch-ups to maintain color vibrancy, typically every 4-6 weeks.
By taking the right actions after you dye your brows, you’ll help preserve your beautiful new shade and ensure the longevity of your brow look.
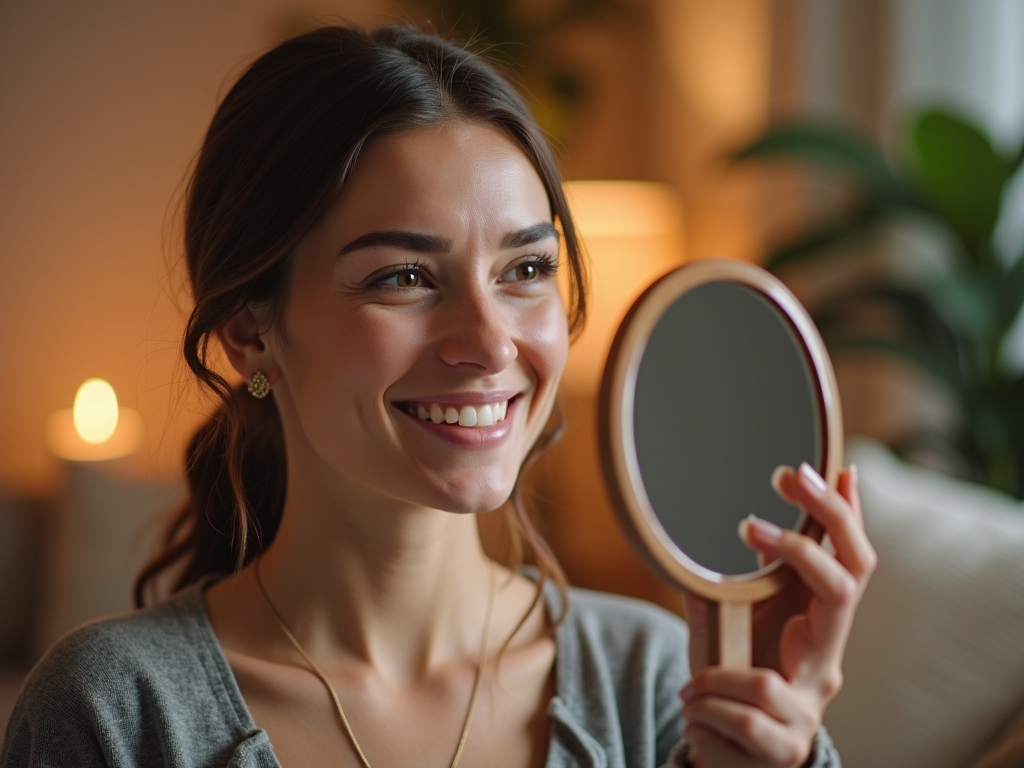
Conclusion
Dyeing your brows at home doesn’t have to be intimidating. With the right knowledge and tools, you can successfully achieve a look that enhances your natural beauty. Remember to choose the right shade, gather all necessary supplies, apply the dye skillfully, and practice good aftercare to maintain your new look. So grab your eyebrow dye kit, follow these expert tips, and enjoy the confidence that comes with beautifully dyed brows!
Frequently Asked Questions
1. Is it safe to dye my brows at home?
Yes, as long as you use products designed specifically for eyebrows and follow the instructions carefully, dyeing your brows at home can be safe.
2. How often should I dye my brows?
Typically, you should plan to touch up your brow color every 4-6 weeks, depending on how fast your natural hairs grow and how quickly you notice fading.
3. Can I use regular hair dye on my eyebrows?
No, regular hair dye can contain harsh ingredients that could irritate the delicate skin around your eyes. It’s important to use a product specifically formulated for eyebrows.
4. What should I do if the dye stains my skin?
If the dye stains your skin, you can gently scrub the area with a cotton pad soaked in makeup remover or rubbing alcohol. Avoid using harsh scrubs or abrasive methods to protect your skin.
5. Can I dye my brows if I have sensitive skin?
If you have sensitive skin, it’s recommended to perform a patch test at least 48 hours before applying dye to your brows. Opt for a formula that is hypoallergenic and designed for sensitive skin.