How to do the perfect winged eyeliner
Winged eyeliner: it’s the hallmark of classic beauty, a staple must-have in every makeup enthusiast’s repertoire, revered for its ability to accentuate the eyes and add a touch of elegance to any look. Yet, achieving the perfect wing – sharp, symmetrical, and with just the right flick – can be daunting even for seasoned aficionados. At its essence, winged eyeliner is about extending the lash line with a subtle sweep or a bold arch, creating the illusion of wider, more expressive eyes. With the proper technique, precision tools, and a little patience, anyone can master this iconic style, transforming their makeup routine from mundane to mesmerizing.
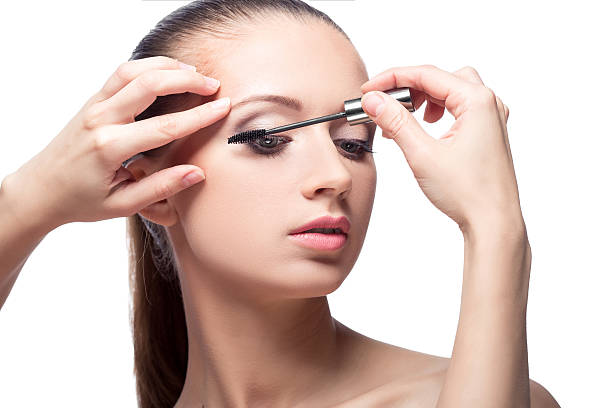
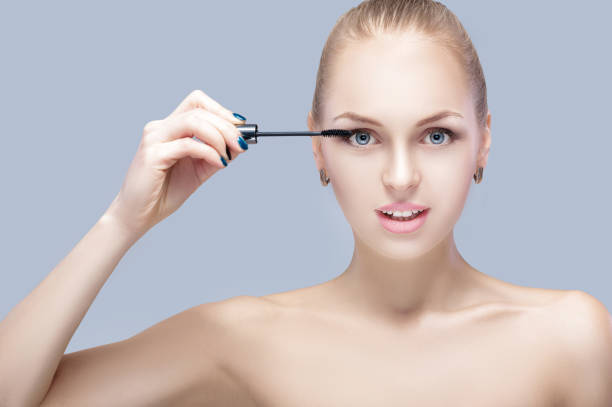
Tools of the Trade
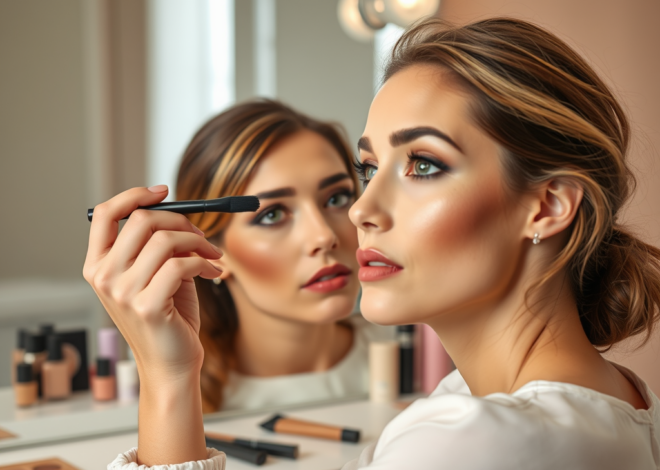
When embarking on the quest for flawless winged eyeliner, one must first acquaint themselves with the tools that make the magic happen. It all starts with selecting the right eyeliner. You can choose from gel, liquid, or pencil. Many makeup brands offer a variety of options, but for creating sharp wings, liquid liners with a fine, felt-tip pen are often preferred by pros and amateurs alike.
Choosing the Right Eyeliner:
- Gel Eyeliner: Typically comes in a pot and requires an angled brush for application. It’s great for a controlled line but can be a little more forgiving than liquid eyeliner, making it a good choice for beginners.
- Liquid Eyeliner: Offers precision and more dramatic results. Those with a steady hand can benefit from its fluid application that glides smoothly across the lid.
- Pencil Eyeliner: Is softer and ideal for a smudged, smokey effect. While not typically used for a clean wing, it can sketch out the shape before tracing over with liquid or gel.
Among these options, cruelty-free makeups are gaining popularity, with a growing number of beauty brands committing to not testing on animals. When you scout for your ideal eyeliner, look out for those labeled as 100% cruelty-free. It’s reassuring to know that you can find high-quality eyeliners which are also 100% vegan, sealing the commitment of a cosmetics company to ethical practices.
Additional Tools for Precision:
To aid in your quest, gather a few additional tools. An angled brush can be your ally, particularly if you’re using gel liner, offering the precision needed for that crisp edge. If you’re prone to wobbly hands or simply crave symmetry, adhesive tape can serve as a guide when placed at the outer corners of the eyes. Alternatively, eyeliner stencils can also offer the structure to get the shape just right.
Prepping Your Canvas:
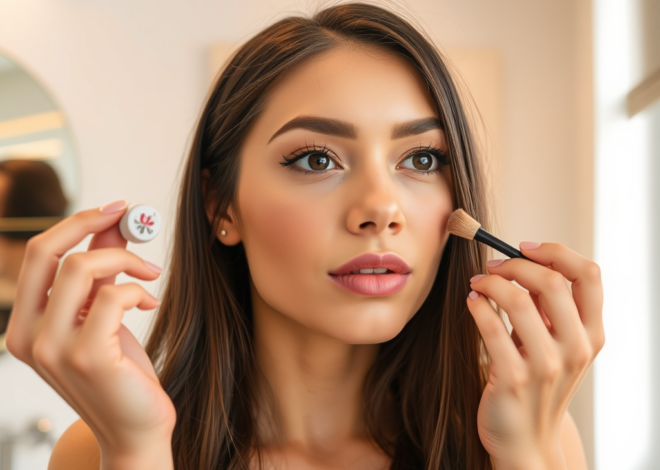
Like any masterpiece, a clean base is crucial. Begin with a makeup-free eye area, ensuring any oils or residue from skincare products are wiped clean. An eye primer can be a game-changer, providing a smooth canvas and helping your liner stay put without bleeding. If you don’t have a primer at hand, a dab of concealer or foundation set with a light touch of powder can also do the trick.
Step-by-Step Guide to Perfect Wings
Once you’re armed and ready with the best tools and products, the real work begins. Rome wasn’t built in a day, and neither is the perfect wing – but with these steps, you’re well on your way to achieving eyeliner nirvana.
Mapping Out Your Look:
Your eye shape is the map, and the winged liner is the compass. The angle and length of your wing should complement your natural features. One commonly recommended method is to follow the natural upward curve of your lower lash line; envision an extension that lifts towards the end of your eyebrow. This can typically serve as a guide for where your wing should aim.
The Initial Stroke:
Taking your liquid liner or an angled brush dipped in gel, steady your hand and start by drawing a thin line from the outer corner of your eye. This line dictates the direction and length of your wing, so make it as long or short as you desire. Remember, it’s easier to extend the line than to remove excess.
Connecting the Lines:
Once you have your initial flick, it’s time to connect it back to your lash line. Draw a line from the tip of your wing down to the middle part of your upper lid, creating a triangle on your eyelid. The key here is to use light, feathery strokes—pressure can be adjusted to thicken the lines later. This step may require some practice to get the angle just right, so don’t be discouraged if it takes a few tries.
Filling In the Wing:
With your outline in place, fill in the triangle with your chosen eyeliner. It’s much like coloring; even, steady fills will result in a bold, saturated wing. If you make a mistake, don’t fret; a pointed cotton swab dipped in makeup remover can clean up any discrepancies, leaving you with a sharp and precise wing.
For those keen on supporting cruelty-free and ethical beauty, it’s worth noting that many free makeup samples handed out for promotions nowadays are also 100% cruelty-free. Sampling one of these can be a great way to test the waters with new products without compromising on your values.
Crafting Symmetrical Wings
The biggest challenge in achieving perfect winged eyeliner is ensuring both wings are identical – a feat that feels akin to finding a unicorn in the wild. But fear not, with a few tried-and-true tips you can increase your chances of symmetry in your eyeliner adventures.
Balancing Both Eyes:
It’s important to remember that our faces are not symmetrical, so your wings may not be mirrored images of each other – and that’s okay. The goal is to create the illusion of balance. You can start by marking dots where you want each wing to end, ensuring they’re at the same angle and height.
Correcting Mistakes:
A small mistake should not be the reason you wipe off all your efforts. Many professional makeup artists rely on a little secret weapon: a micellar water-drenched pointed cotton swab. It acts as a precision eraser, tidying up any smudges or uneven lines. Another pro tip is to apply a skin-colored eye pencil or concealer just below the wing’s edge to clean up any smears, creating the illusion of a super-sharp tail.
| Step | Description |
|---|---|
| Mark Starting Points for Each Wing | Place a dot where you want each wing to end. |
| Check for Symmetry | Confirm the dots are even in angle and length. |
| Draw the Initial Stroke | Make the first line following the dot as a guide. |
| Connect the Dot to the Lash Line | Draw a line from the dot down, creating the wing shape. |
| Evaluate and Adjust as Necessary | Use a swab dipped in makeup remover to perfect the wing. |
| Fill and Finalize | Fill in the wings and sharpen with concealer if needed. |
As you continue the steps to perfect winged eyeliner, always consider what products you’re using. Eco-conscious consumers will be pleased to know that the beauty industry has seen a surge in not only cruelty-free, but also 100% cruelty-free makeup items. These products are developed with respect for animal welfare and often support broader sustainability efforts, aligning beauty routines with ethical standards.
Advanced Techniques and Tips
As with any skill, once the basics are mastered, it’s time to explore and innovate. Advanced techniques can add drama and character to your look, reinventing the wheel— or rather, the wing— to suit your mood or the occasion.
Adding Drama and Thickness:
For those nights out when you’re feeling particularly bold, or when you simply wish to make a statement, thickening your wings is the way to go. To achieve this, build on the basic wing you’ve already created, extending the liner further both at the top and bottom lines of the wing, filling in the space in between. Remember, it’s all about balance; the thickness of the wing should complement the size of your eyelid space.
- Trace Over the Bottom Edge: Carefully go over the lower line of your wing to start broadening the look.
- Increase Top Thickness Gradually: Begin to thicken the top line from the halfway point of your eyelid to join the enhanced bottom edge.
- Fill with Precision: Ensure the eyeliner is applied evenly inside the wing for a polished look.
Creative Winged Eyeliner Variations:
Gone are the days when winged eyeliner meant just one style. Beauty brands are constantly evolving, bringing in a wealth of creative options. Consider trying out a double wing, adding a hint of color or even integrating glitter into your wing for some sparkle. Social media platforms are brimming with inspiration and tutorials on reimagining the classic wing.
Longevity of Your Winged Liner:
Your masterpiece should be admired all day or all night long without smudging or fading. To ensure your liner’s longevity, always start with a primer and consider using waterproof formulas, particularly if you have oily eyelids. Setting your liner with a matching eyeshadow can also help lock in the look; just gently pat the shadow over the liner with a small brush.
Finishing Touches
Perfecting the eyeliner is just one step in creating a stunning eye makeup look. Complement your winged eyeliner with the rest of your makeup to truly make your eyes pop.
Complementing Your Eyes:
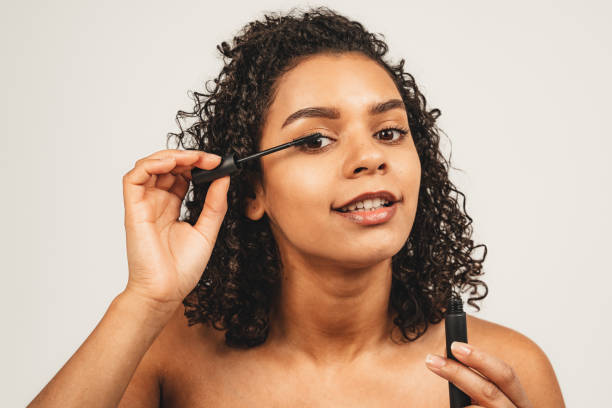
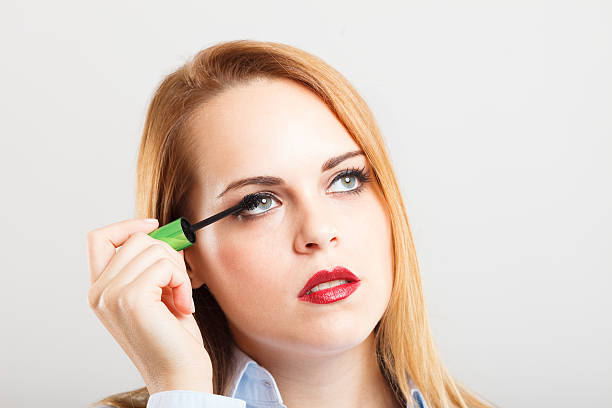
After you’ve finished your wings, choose a complementary eyeshadow to enhance your eye color and the shape of the wings. For a seamless look, blend shadows softly into the crease of your eye, careful to not overshadow your liner. Accentuate your lashes with a volumizing or lengthening mascara, which can elevate your winged liner look and give a beautiful frame to your eyes.
Aftercare and Removal:
Taking care of your skin shouldn’t stop at makeup application. Once the day is over, it’s essential to remove your makeup gently but thoroughly. Opt for an oil-based remover if you’ve used waterproof products, as it effectively dissolves resilient formulas without excessive rubbing. Remember to moisturize after cleansing to keep the delicate skin around your eyes healthy.
Conclusion
In conclusion, achieving the perfect winged eyeliner is an art form that combines the right tools, technique, and a dash of patience. Despite the diversity of makeup brands and products like 100% cruelty-free cosmetics, the principles of eyeliner application remain the same. Practice makes perfect, and soon enough, the steps to that crisp, clean wing will be second nature. Remember, makeup is not only a means to enhance your natural beauty but also a form of self-expression, so don’t be afraid to experiment and make the look uniquely yours.
FAQs
Q1: What are the best cruelty-free makeup brands for eyeliner?
A1: There are many cruelty-free makeup brands known for their high-quality eyeliners. Some popular options include Kat Von D Beauty, Stila, NYX Professional Makeup, and Urban Decay. These brands are dedicated to not testing on animals and offer a range of products to suit different preferences.
Q2: Can I achieve a winged eyeliner look with hooded eyes?
A2: Absolutely! The key for hooded eyes is to create the wing at a slightly higher angle and to draw the eyeliner with your eyes open. This way, you can see how the liner looks when your eyes are in their natural state. It may take some experimenting to find the right angle, but it’s definitely achievable.
Q3: How can I make my winged liner last longer throughout the day?
A3: To ensure your winged liner lasts longer, start by applying an eye primer before any eyeliner. Choose a waterproof or long-wearing eyeliner formula, and consider setting your liner with a similar-colored eyeshadow. Avoid touching or rubbing your eyes throughout the day.
Q4: Is there a trick to getting both wings to match perfectly?
A4: Achieving matched wings is a common challenge. A good trick is to make dots or small lines as guides to ensure both wings will be similar in length and angle before you start drawing them. Additionally, you can use micellar water or a pointed cotton swab to fine-tune any discrepancies.
Q5: What do I do if my winged eyeliner starts to smudge?
A5: If you notice your eyeliner beginning to smudge, lightly press a thin layer of translucent powder around the area to help absorb oil. Carry a few pointed cotton swabs and a small bottle of makeup remover or micellar water for quick touch-ups on the go. Opting for a smudge-proof eyeliner formula can also alleviate this issue.